So, I did this project a while back and I wanted to share it with my blogging buddies. I inherited this chair from my mother-in-law a few years ago and it has sat, quietly waiting in the corner of our playroom, for a makeover!
One day, I found this picture in the
Crate and Barrel catalogue. I loved this chair, but not the price! Humm, you can tell where this led me . . .

I went to
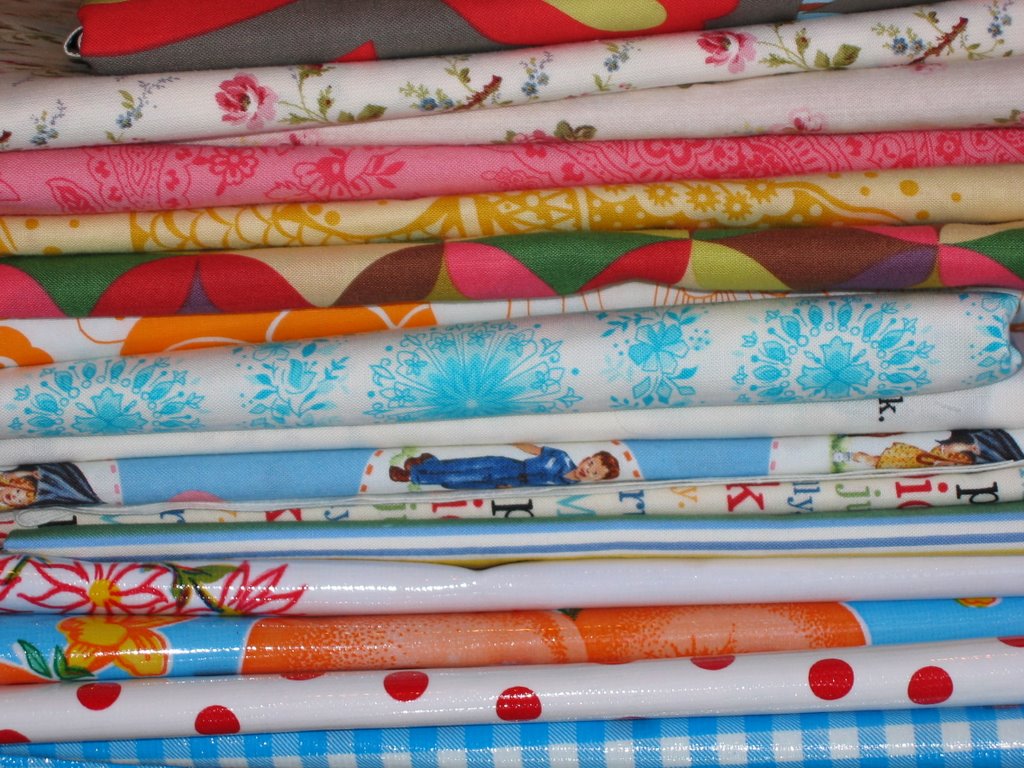
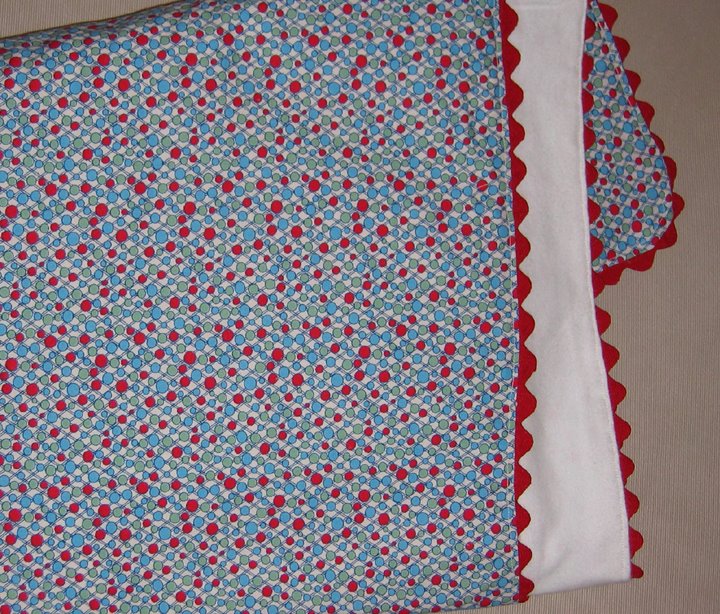
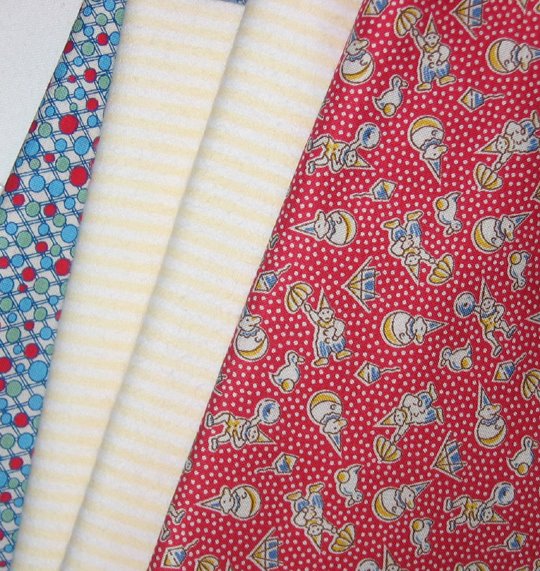
Home Fabrics (a fabulous CHEAP fabric store) and bought this fabric for . . . . $3.50 a yard!!! Can you believe it!? I think that the batting cost more than the fabric but overall, the whole project cost me under $50.
I started off with the ottoman, which I thought would be easier and better to experiment with. It turned out to my liking! :)

At this point, I decided that I could take some pictures, as it didn't look like a total disaster! LOL!
Next, I traced out a rough outline of the chair body onto my fabric and cut it out. I pinned it, right side out, to the chair so that I could make any adjustments, make sure that the fabric was straight, and trim off any excess fabric. It was important for me, with the print of this fabric, to make sure that the lines were all lined up.
After the fabric was adjusted, I unpinned it and cut the stuffing out to match the pieces. I then re-pinned the fabric, with the stuffing, to the chair, wrong side out, like so -

I sewed these piece together and trimmed off the excess fabric. I basically followed the same steps for the whole chair.


You can see that I traced the curve of the arm so that I would get it right when I sewed it. Nothin' too professional!! LOL!
For the bottom, I decided to sew the outer flaps on first. I basically took the rectangular measurements and then sewed them separately, with an iron on interfacing to give them some stiffness. Then I added them to the main body.

One thing that I regret is that I did not make these pieces wide enough. In the end it didn't really matter but, I wish that I had had the patience to undo them and make them wider so that they would be closer together at the edges.

My last step for the main body was to put together the inner panels on the base of the chair. I didn't hem these pieces because I decided that I was going to staple them to the bottom of the chair. When all four sides were sewn on, I turned the fabric right side out, put it on the chair, and closed up the edge of the slipcover by hand. Then came the stapling.
For the cushion, I made a simple pillowcase-like slip cover. Don't you love my professional terms here! :) LOL!

All in all, I am proud of the final product! It doesn't quite look like the Crate and Barrel chair but it was a heck of a lot cheaper! That works for me. My kids love the chair too, theY have already turned it into a fort, a slide, and a trampoline. :)